Today we start an awesome mini-series from one of our support gurus, DragonFly, about how S/MIME works in general, with following tutorials on how to implement S/MIME in TouchDown on iOS, Android and Mac platforms. Check out today’s tutorial on iOS!
Hi,
Dragonfly from NitroDesk support here. In the following, today I’ll be describing how to import and use S/MIME in Touchdown for iOS. Using this functionality you can sign messages, proving that you are the person sending that particular message, and optionally encrypt them, meaning the email will only be readable by people who you have included in the message. Signing provides you with non-repudiation and potentially detect tampering on the fly and encryption prevents unauthorized viewing of the message. This type of functionality is great for keeping your emails safe and ensuring that information’s coming from the right source. (For more information on how S/MIME works, here’s a good tutorial: http://technet.microsoft.com/en-us/library/aa995740%28v=exchg.65%29.aspx) Just know that to send an encrypted email, you need to have the recipient’s public key and vice versa- these can be verified from within Touchdown when that person sends you a signed message. Here’s what you’ll need before you get started:
First, you’ll need a certificate for S/MIME signing and the latest version of Touchdown. To get a certificate for S/MIME, you’ll want to contact your IT team. Also, keep in mind the only two certificate types Touchdown supports is .pfx and .p12. The certificate would need to include the complete chain to the root certificate authority.
If you have your certificate already in IE, but need to export it to your desktop,Here’s how (in IE):
1. Go into the Settings>Internet Options, and clicking on the Content tab.
2. Click on Certificates, and find the one you want to export
3. Click Export. Make sure you choose the option to export the private key and also to include all certificates in the certification path.
4. Choose a file path, and save it.
5. Don’t forget to remember the password you use to perform the export. This password prevents anyone else from being able to access the certificate. If you’re having difficulty with this process, contact your IT team and see if there’s another way you should be doing it. As with any operations like this, make sure you are staying within your IT team’s best practices so you stay in alignment with any security policies.
6. Once you have your certificate backed up to a file, send that file to your email as an attachment, and you’re ready to go.
Let’s start with the iOS version.
S/MIME for iOS
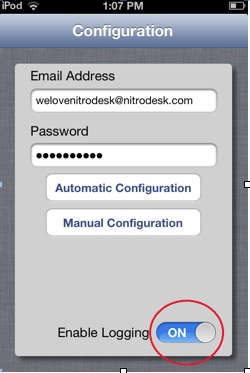
In this demo, I show how to send an encrypted email to the ‘welovenitrodesk’ account.
First, I want to ensure that I have my certificate for S/MIME, so I find the email with the attached certificate, and view it in the attachment list.
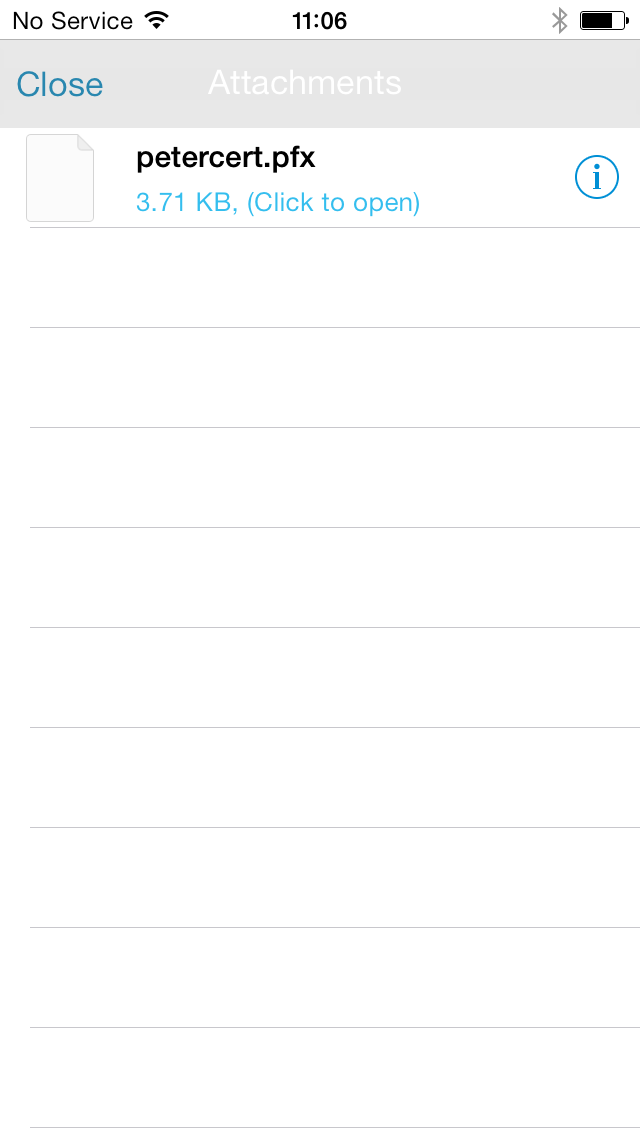
The attached certificate, note the file type is .pfx.
After downloading, I click the ‘I’ icon and choose to ‘Import for both.’
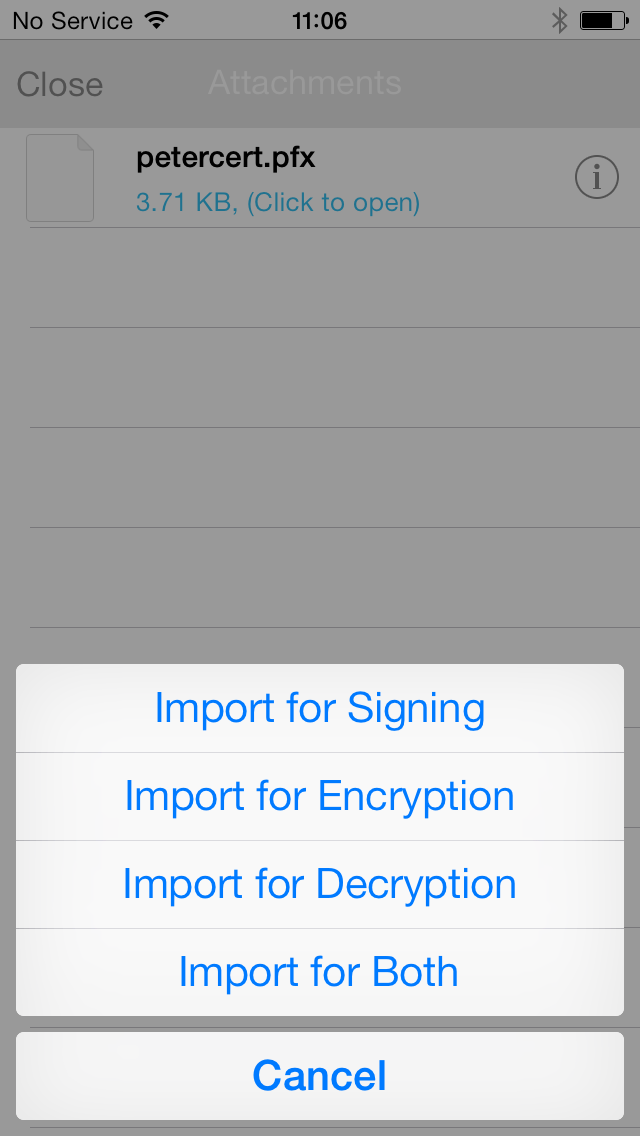
Choose Import for Both.
A password prompt appears.
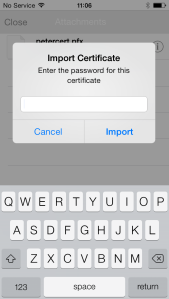
Enter your certificate password here that was created when you generated the certificate.
After entering the correct password (This is set up during certificate exporting from your browser, for help with this please contact your IT team) it will tell you your certificate has been saved.
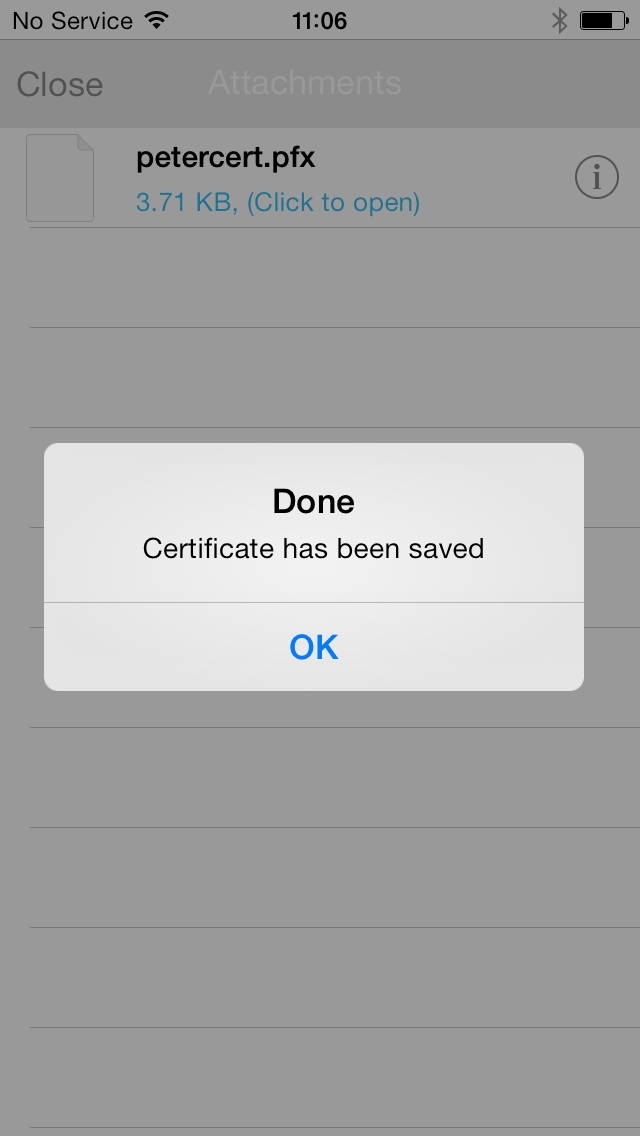
Saved certificate message.
Now that I have a certificate, I’m ready to send the account welovenitrodesk an encrypted message:
I click on the tools/options icon and enable Encryption and signing.
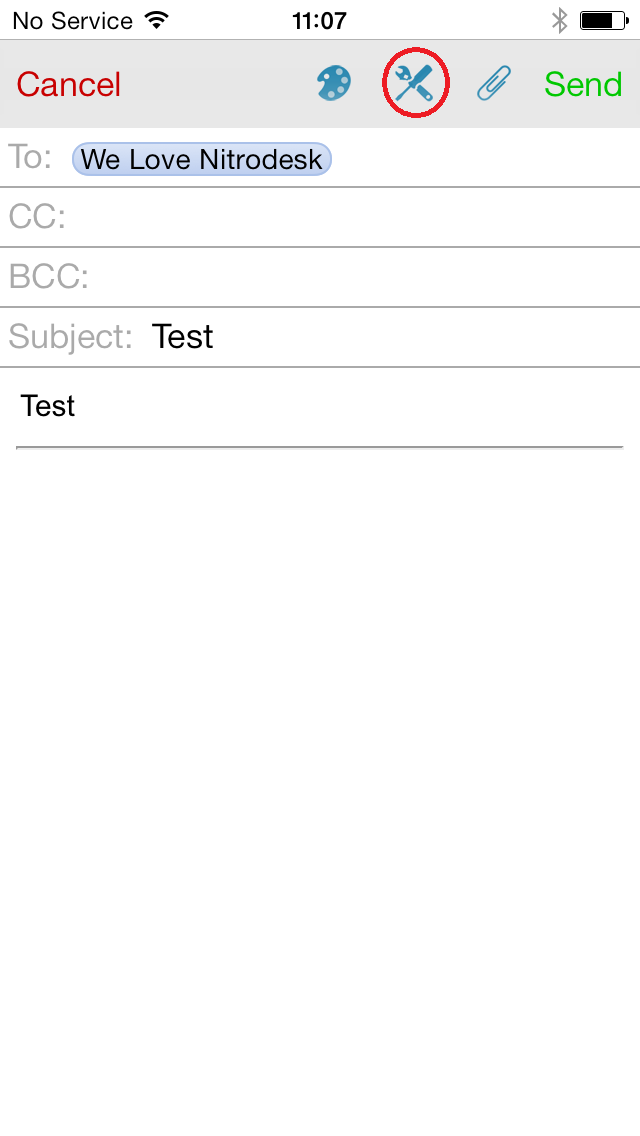
Tools icon to enable encryption signing.
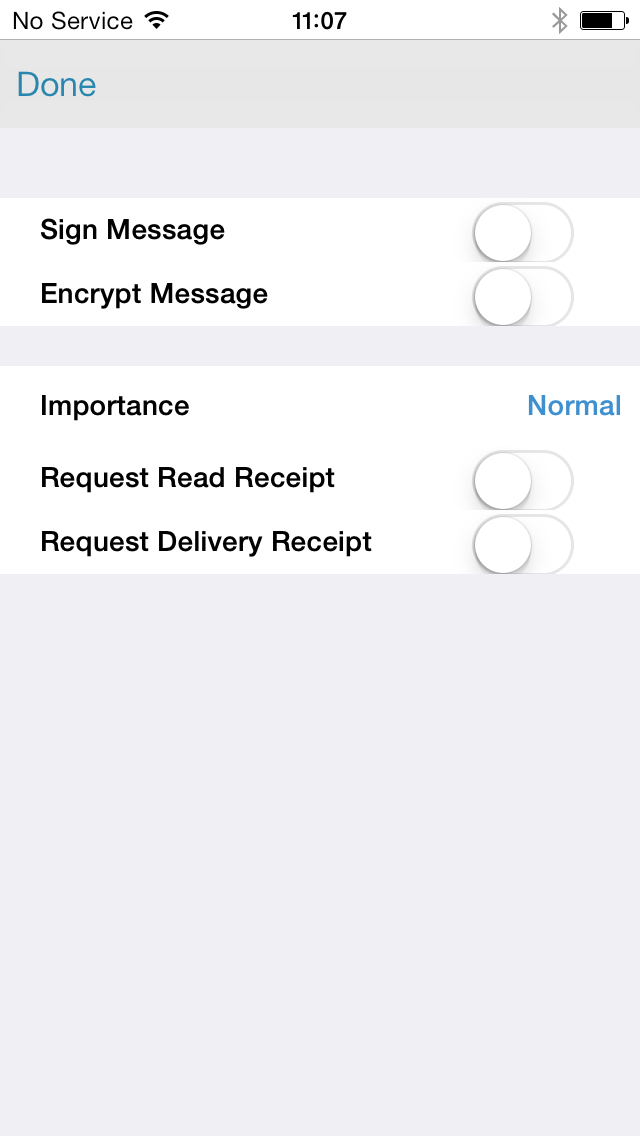
Enable signing and encryption for the email.
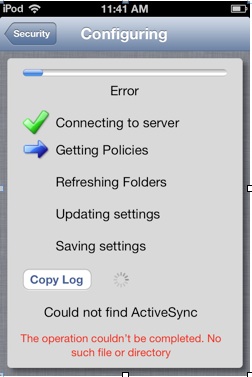
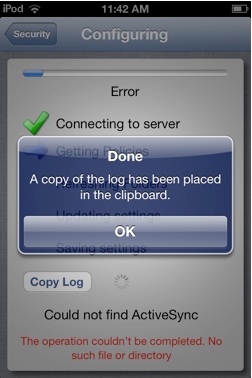
I send the email. If you suddenly see this message (see below), it means you didn’t validate the recipient’s public certificate key from a signed message. (This can also be done over the GAL if your company supports it.) Remember how I said earlier that to send an encrypted email, you need the recipient’s public key? Now I just need to fetch it. Thankfully, a while back welovenitrodesk sent me a signed message, which contains the key.
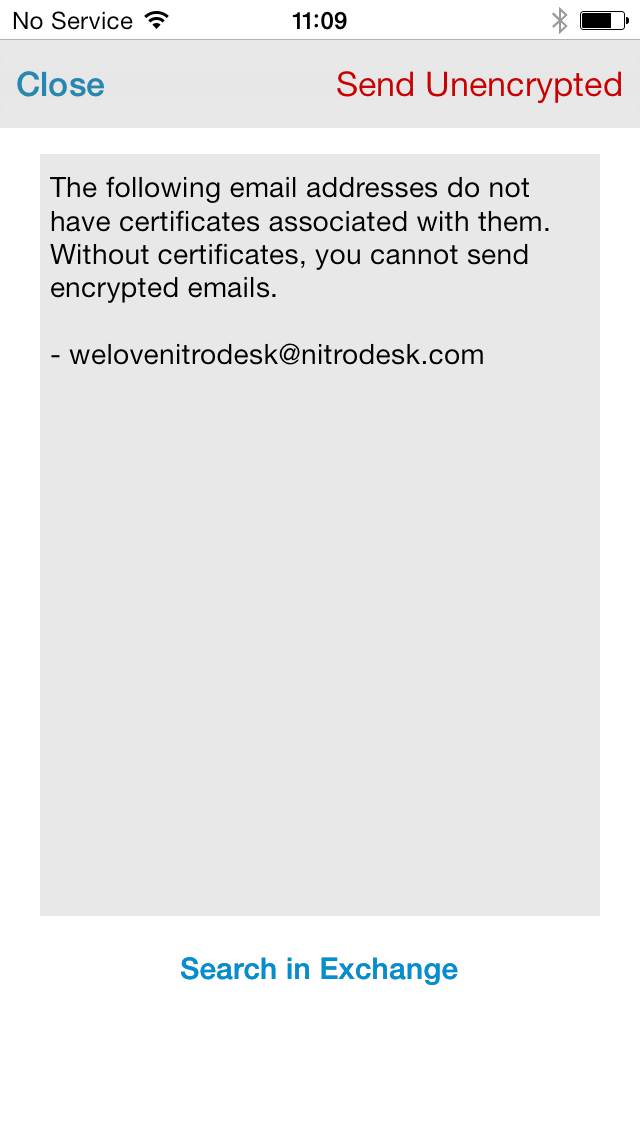
Oops!
I find the email where welovenitrodesk sent me the key, and click on the lock icon.
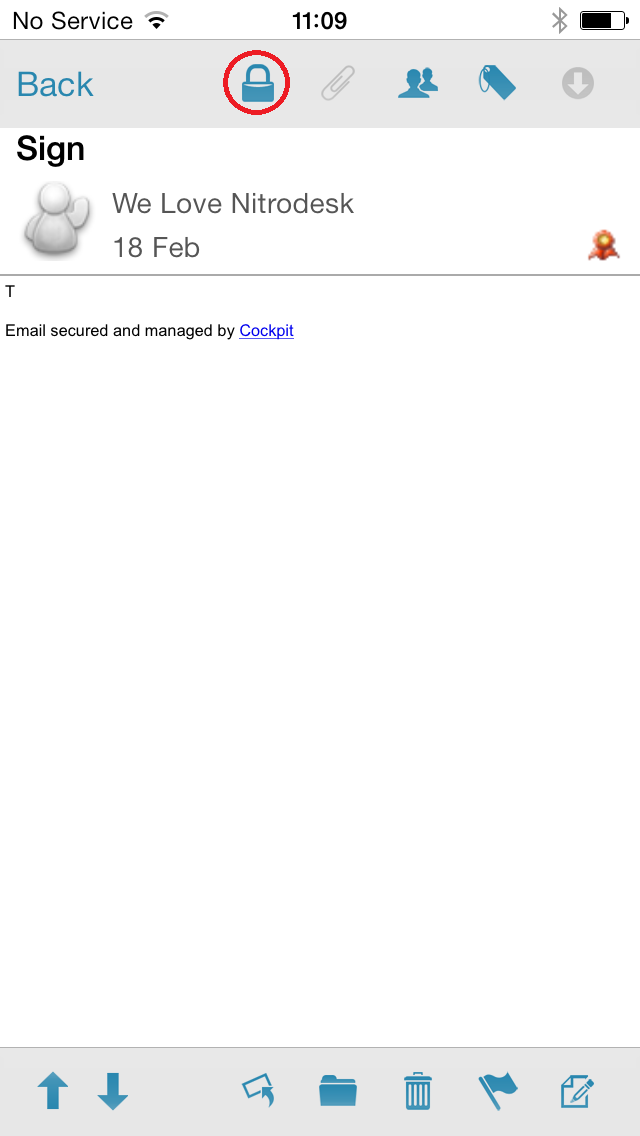
Welovenitrodesk sent me a signed message.
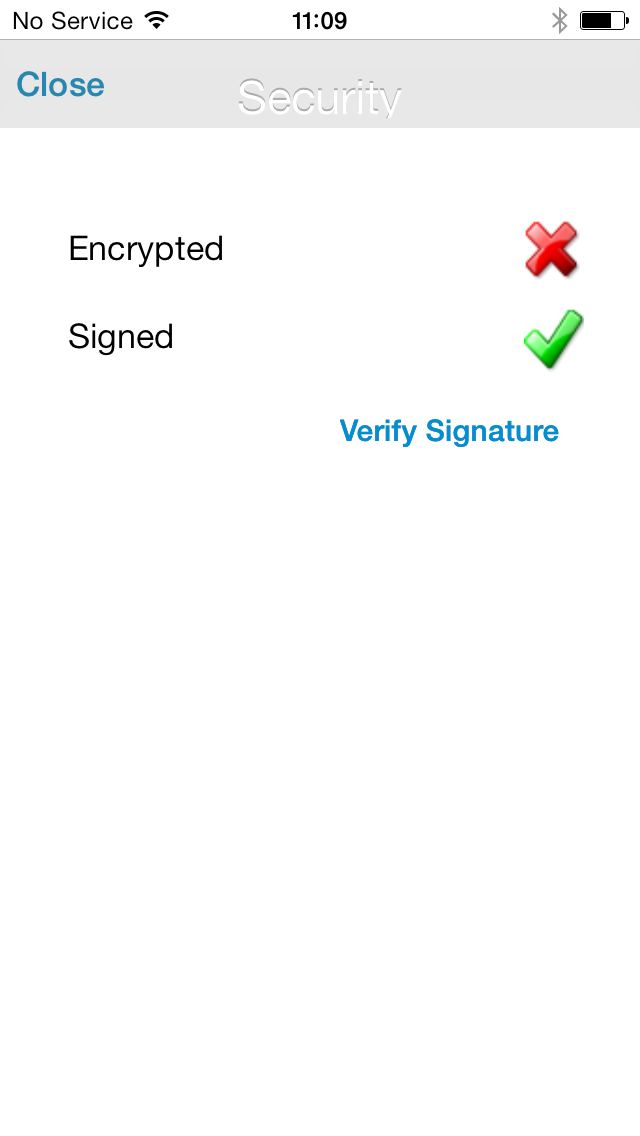
I click ‘verify signature’ and it verifies.
Now I can send that encrypted message!
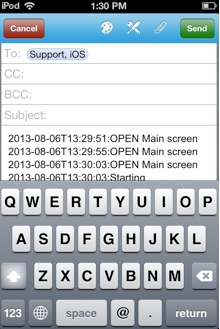
The second time, I attempt to send the encrypted message again. This time it comes through.
Back in welovenitrodesk, after having imported the public certificate and the welovenitrodesk certificate, I check the encrypted message, and am able to successfully decrypt it.
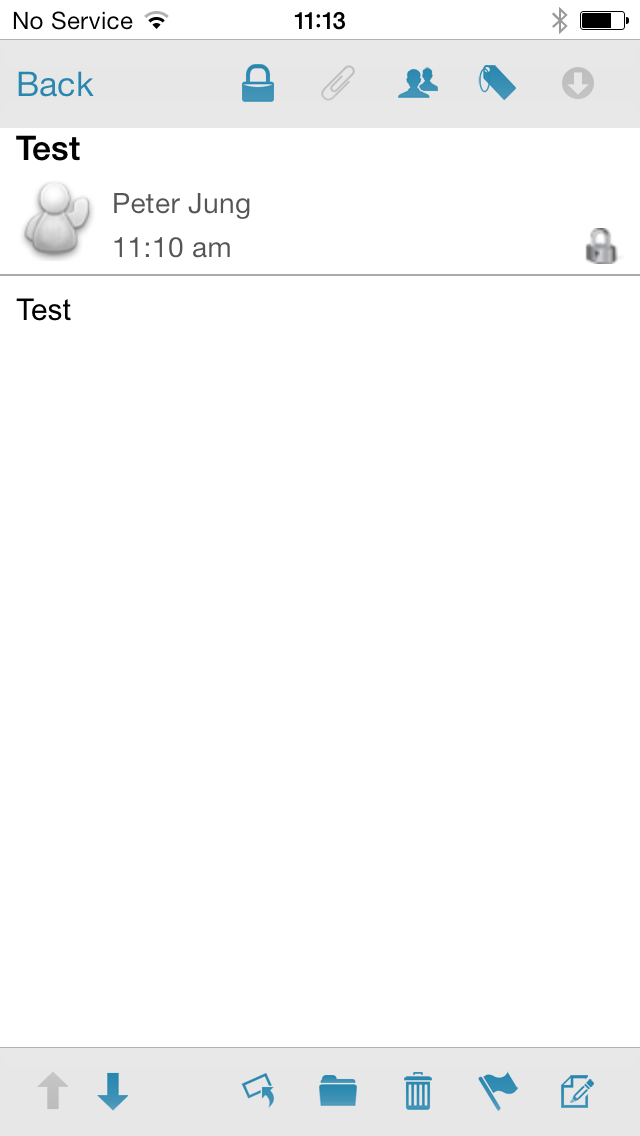
The signed and encrypted email.
Clicking on the lock icon, I can confirm that it is indeed signed and encrypted.
Hope this helps you get a better understanding on how to use S/MIME functionality with Touchdown for iOS. If you have any questions, please feel free to contact us at iossupport@nitrodesk.com for any iOS queries. Be sure to check in on Monday for Part II, SMIME for Android. Thanks for reading!